The Reaction Game Using Multi-Function Shield
HARDWARE REQUIRED:
- PICUNO Microcontroller board
- 1 × Multi-Function Shield
- USB cable
DESCRIPTION:
This project turns your Multifunction Shield into a fun game to test your reaction speed. The program will wait for a random amount of time and then suddenly light up one of the first three LEDs. The player's goal is to press the button directly underneath the lit LED as quickly as possible. The game provides instant feedback with sounds from the buzzer for success or failure.
CIRCUIT DETAILS:
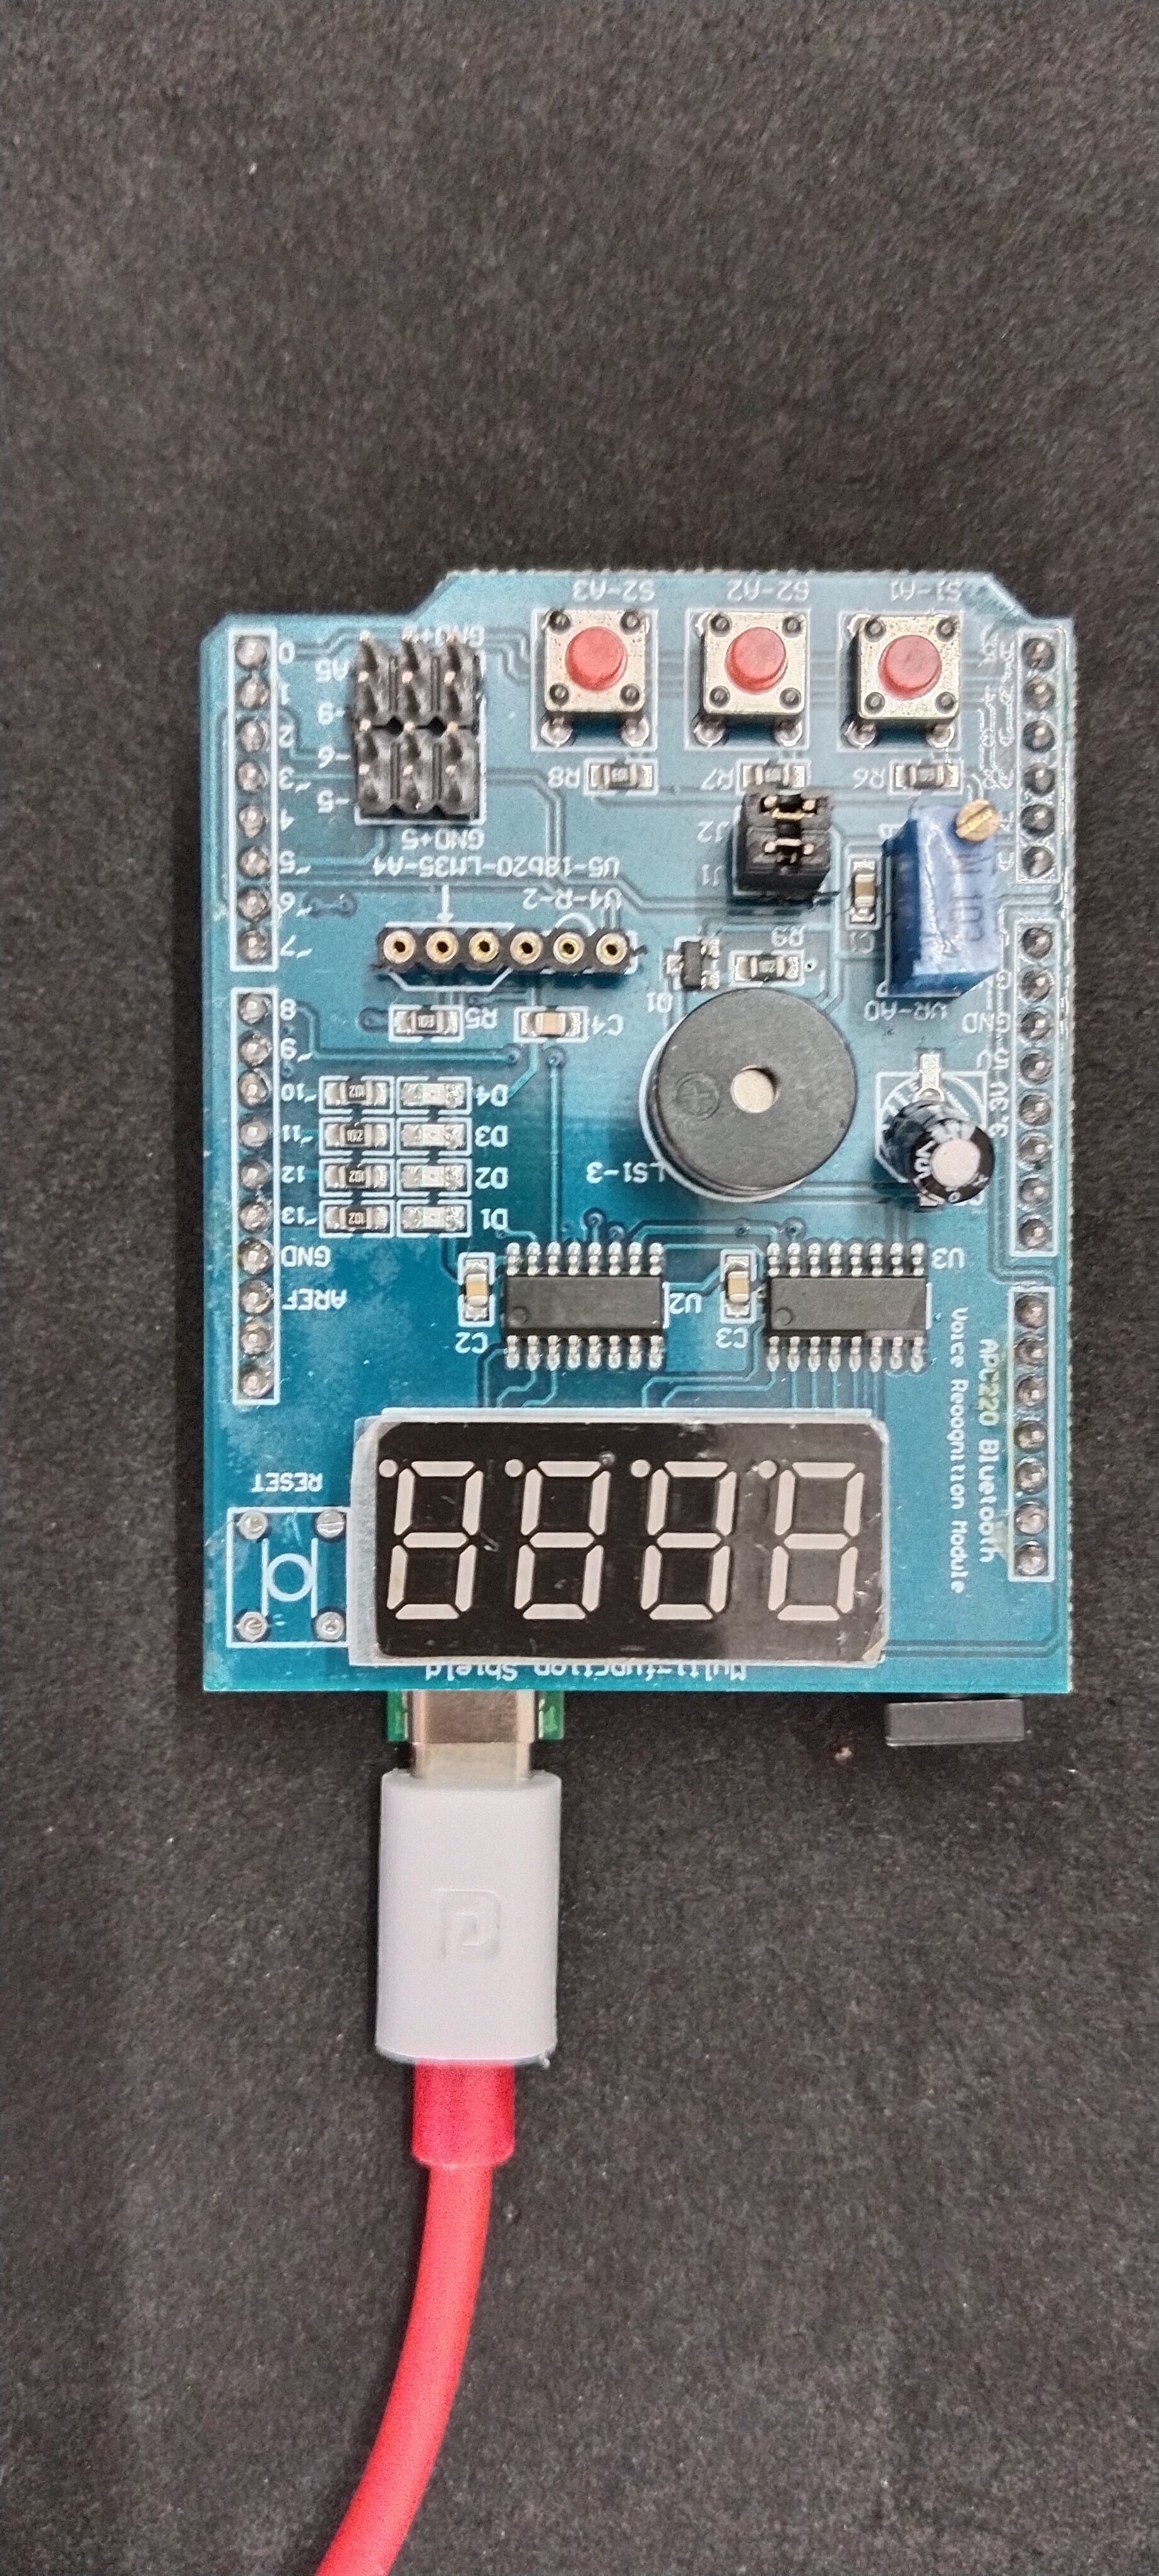
- Plug the Multi-function Shield directly on top of the PICUNO board. The shield's components have fixed connections to the board's pins.
- LEDs (D1-D4) are connected to GPIO 13, 12, 11, and 10.
- Buttons (S1-S3) are connected to Analog Pins A1, A2, and A3.
- Buzzer is connected to GPIO 3.
SCHEMATIC:
No external wiring is required. Place the Multi-Function shield directly on top of the PICUNO board.
Multi-Function shield:
LEDs (D1-D4) → GPIO 13, 12, 11, 10.
Buttons (S1-S3) → A1, A2, A3.
Buzzer → GPIO 3
CODE -- C:
randomSeed(analogRead(A0)) - This command uses the random electrical noise from an unconnected Analog pin (A0) to "seed" the random number generator, ensuring that the sequence of lit LEDs is different every time you turn the device on.
random(min, max) - This function generates a random number within a specified range. It's used to create the random delay before an LED lights up and to choose which of the three LEDs will be the target.
digitalRead(buttonPins[i]) == LOW - This is how the code checks if a button has been pressed. Because the pins are configured with INPUT_PULLUP, their default state is HIGH.
tone(BUZZER_PIN, frequency, duration) - This function creates the sound effects. It generates a sound wave of a specific frequency on the buzzer pin for a set duration, providing instant audio feedback for a correct or incorrect answer.
CODE -- PYTHON:
urandom.randint() - This function is used to make the game unpredictable. It generates a random number for the delay time and for which LED to light up.
leds[led_to_press].low() - Turns on the target LED. The LEDs on this shield are "active low," meaning they light up when the pin is set to a LOW voltage.
Game Logic - The code waits for a button press. It checks if the button that was pressed (i) corresponds to the LED that was lit (led_to_press).
Timer (ticks_ms) - The game gives the player a 1-second time limit to press the correct button.